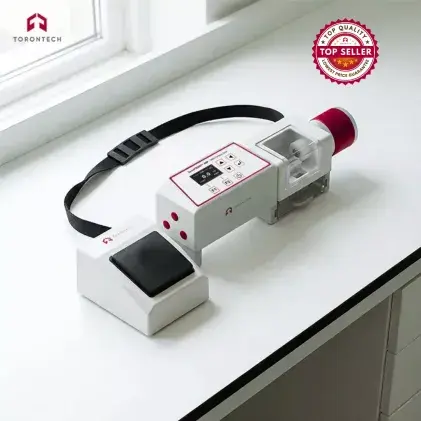
Tablet Hardness Tester Calibration Explained
Accuracy isn't just a bonus in the pharmaceutical business; it is the entire point. A tiny wobble in your tablet breaking force creates the difference between a compliant batch and a recall nightmare. That is exactly why tablet hardness tester calibration is the one task in your Quality Control (QC) lab you absolutely cannot ignore.
At Torontech, we view things differently. We provide smart, cost-effective North American technology without the massive price tag. Here is your no-nonsense guide to the tablet hardness tester calibration procedure, served up with our unfiltered professional take on how to keep your operation running smoothly.
Why You Cannot Afford to Skip Tablet Hardness Tester Calibration
Before we get into the specific steps of how, we have to discuss the why. Let’s face facts: tablet hardness testers (those machines that crush pills to measure strength) get tired. Mechanical components wear down and electronic sensors start to drift off target.
Related article: Tablet Hardness Tester: The Complete Guide
While advanced methods such as near-infrared spectroscopy combined with chemometric models are emerging as complementary tools for nondestructive hardness prediction and quality control, traditional mechanical calibration remains essential for instrument accuracy (Kirsch & Drennen, 1999; Blanco et al., 2006; Tanabe et al., 2007).
Major regulations like USP <1217> aren't just suggestions; they are strict requirements. If your tablet hardness tester calibration is off, you are going to end up with tablets that cap or crumble, which is a production disaster.
For instance, we witnessed a facility pump out a whole week's worth of product that was too soft simply because their machine had drifted by a mere 15 Newtons. The entire shipment turned to dust in the truck before it even reached the customer.
Plus, try explaining a missing log for your tablet hardness tester calibration procedure to an inspector—it is a red flag you do not want to wave. A lot of teams treat this like a boring checklist item, but we think that is a mistake. It is your insurance policy, and doing it correctly saves you from a mountain of trouble later on.
Related article: The Importance of Tablet Hardness Testing in Pharmaceutical Industry
The Tablet Hardness Tester Calibration Procedure (The Right Way)
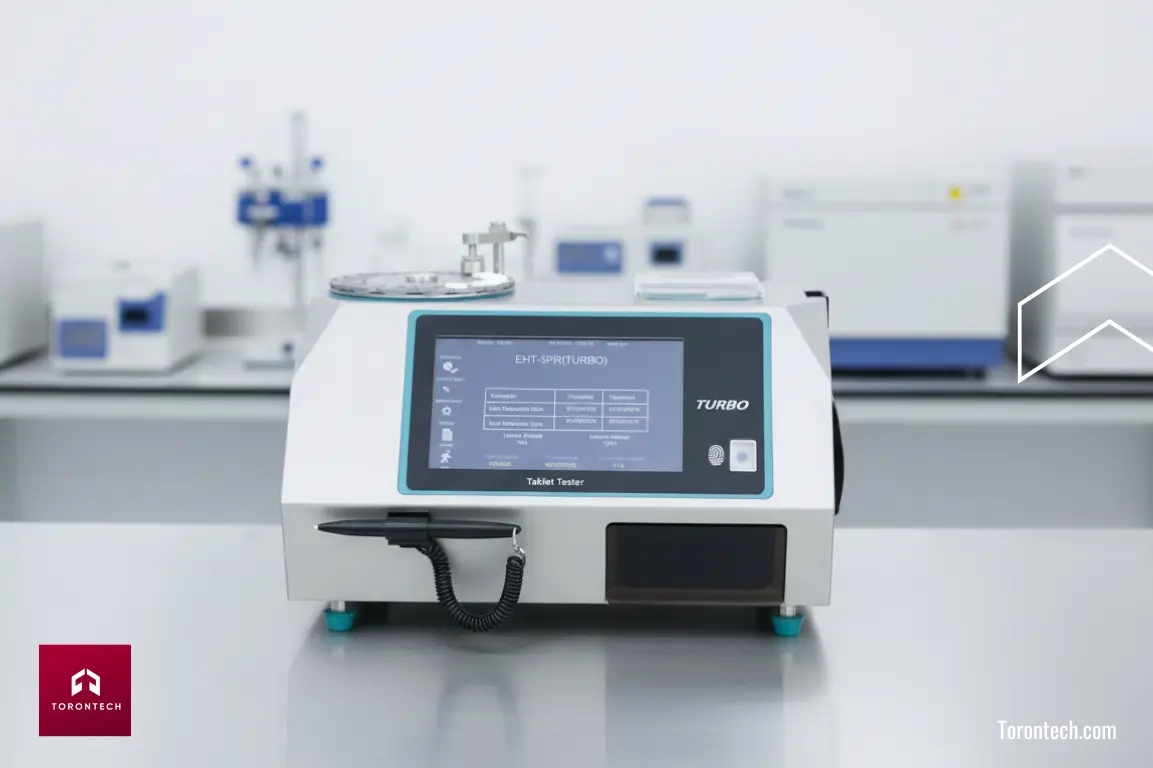
Every model functions a little differently, but a solid tablet hardness tester calibration procedure usually hits these main stages. Stick to this routine, and your numbers will remain steady.
1. Preparing the Instrument
Park that instrument on a table that is completely stable—vibrations from a nearby centrifuge can ruin your tablet hardness tester calibration baseline. You need to clear away every speck of dust from the testing area, specifically around the load cell and jaw drive. We have seen audits go poorly simply because a technician forgot to brush out some leftover powder, which created friction and threw off the force reading.
Once it is clean, turn the system on and let it sit for at least 30 minutes. Seriously, do not skip this step. Attempting to execute the tablet hardness tester calibration procedure on a "cold" machine is a rookie error that will skew your data all day long because the electronic components haven't reached thermal equilibrium.
2. Checking the Force (Load Cell)
This is the main event where you verify that the force value on the screen matches the actual weight you hang on the unit. The calibration procedure often involves using a standard force gauge or dynamometer to apply known forces directly to the tester’s force surface, allowing comparison and adjustment of the tester readings to these standards.
Start by resetting the system to zero to clear it out completely. It is often smart to "exercise" the load cell by applying a full load once before you start recording, just to wake up the mechanics. Next, apply certified brass weights. Do not just test one spot; check the light loads, the medium loads, and the heavy loads. This verifies linearity—ensuring the sensor isn't just accurate at 5kg, but also at 20kg.
To give you a concrete case, imagine you hang a 5kg weight and your tolerance is set at 1%. Any reading between 4.95kg and 5.05kg is a green light. But if that screen blinks 4.90kg, you have a genuine issue that needs fixing immediately.
3. Checking the Dimensions (Thickness & Diameter)
For simple machines, this might be less critical, but for comprehensive units like our Tablet Hardness Testers - 5 Parameter - TAB Series (which handles weight, thickness, diameter, width, and hardness simultaneously), crushing force isn't the only metric that matters.
Remember that the hardness calculation often relies on the tablet's geometry. If your thickness sensor is wrong, your calculated tensile strength will be wrong, even if the force sensor is perfect. Take a certified metal block (like a 10mm piece) to check the spacing accuracy. Watch the readout closely to make sure it falls within the safe zone (usually ±0.02 mm).
4. Record the Results
Log what you found before you made adjustments, and what you found after. Real talk: Be honest with your "As Found" numbers. Inspectors trust a log that shows a few corrections far more than a log that looks suspiciously perfect for five years running.
Don't forget to update the tablet hardness tester calibration sticker on the machine itself—a logbook in a drawer doesn't help the operator standing in front of the device know if it is safe to use.
Troubleshooting Your Tablet Hardness Tester Calibration
Is your machine behaving unpredictably during the tablet hardness tester calibration procedure? We find that about 80% of the "service calls" we receive are actually just maintenance issues you can resolve yourself.
| What’s Wrong | Why It’s Happening | The Torontech Fix |
|---|---|---|
| Numbers Jumping Around | Drafty environment or debris buildup. | Move the unit away from the AC vent. Use a brush to clean the jaws until they are spotless. |
| Won't Zero Out | Jaws are misaligned or there's residual dust. | Make sure the jaws are totally empty. Restart the machine to trigger the auto-sequence. |
| Fails at Heavy Weights | The sensor was overloaded. | Did someone crush a sample that was too hard? Overloading is the primary way to damage a load cell. |
| Thickness is Inconsistent | Loose mechanical parts. | Tighten the screws and check it with a metal block, not a tablet sample. |
How Often Should You Perform Tablet Hardness Tester Calibration?
The question everyone asks is: "How often do I actually have to calibrate this equipment?"
The regulations regarding the tablet hardness tester calibration procedure can be a bit vague, but the industry standard is every 6 months. However, do not just follow the crowd blindly. Calibration frequency depends on usage intensity, instrument type, and regulatory requirements, but regular calibration is recommended to maintain measurement accuracy and reproducibility (Krieger et al., 1995; Goodhart et al., 1973).
Consider a busy Contract Manufacturing Organization (CMO) running three shifts a day; they absolutely need quarterly checks to stay safe. Contrast that with a university formulation lab running one test a week, which is perfectly secure on an annual schedule.
If you require frequent spot-checks right on the production floor without stopping the line, a tool like our Portable Tablet Hardness Tester is often the most practical choice to supplement your main benchtop machine. Here is the thing: do not let a paper calendar dictate your quality control. We built our testers with automated reminders because the machine should tell you when it needs attention, not the other way around.
Calibration vs. Validation: Know the Difference
We have to address a huge misconception about IQ/OQ (Installation/Operational Qualification) versus tablet hardness tester calibration. Many people use these terms interchangeably, but in the eyes of an auditor, they are completely different animals.
Calibration differs from validation in that calibration ensures the instrument measures correctly against standards, while validation confirms that the overall testing process and instrument performance meet intended specifications and regulatory compliance (Goodhart et al., 1973).
You can have a machine that has passed its tablet hardness tester calibration (accurate) but is not validated (illegal to use for GMP). Conversely, a machine can be validated but drift out of calibration. By clearly distinguishing these two tasks, you can better manage your budget and avoid paying for services you might not need for simple maintenance.
How Torontech Makes the Process Smoother
We know that shutting down for tablet hardness tester calibration is a hassle, and we know that technicians dislike struggling with awkward weights and confusing interfaces. That is why our equipment is built for practical, everyday use.
We added features like a clever tilt-sensor that orients the screen when you tip the machine for calibration—it sounds small, but your technicians will appreciate the ease of use when they are juggling heavy brass weights. We also ensure our designs are compatible with standard certified weights and blocks so you aren't forced to buy proprietary tools just to keep your machine running. We do not believe in charging you extra just for a famous logo; we charge for the reliable technology inside the box.
Make absolutely sure your tablet hardness tester calibration is precise, fully compliant, and doesn't consume your entire quarterly budget. Look at our full lineup and see why we are the preferred partner for smart manufacturers.
References:
- Kirsch, J., & Drennen, J. (1999). Nondestructive tablet hardness testing by near-infrared spectroscopy: a new and robust spectral best-fit algorithm. Journal of pharmaceutical and biomedical analysis, 19 3-4, 351-62.
- Blanco, M., Alcalà, M., González, J., & Torras, E. (2006). A process analytical technology approach based on near infrared spectroscopy: tablet hardness, content uniformity, and dissolution test measurements of intact tablets. Journal of pharmaceutical sciences, 95 10, 2137-44.
- Krieger, M., Fähler, F., & Baumgartner, K. (1995). Determination of Tablet Hardness with Straw Gauge Equipped Instruments. Drug Development and Industrial Pharmacy, 21, 2201-2212.
- Goodhart, F., Draper, J., Dancz, D., & Ninger, F. (1973). Evaluation of tablet breaking strength testers. Journal of pharmaceutical sciences, 62 2, 297-304.
- Tanabe, H., Otsuka, K., & Otsuka, M. (2007). Theoretical Analysis of Tablet Hardness Prediction Using Chemoinformetric Near-Infrared Spectroscopy. Analytical Sciences, 23, 857-862.