Key Differences Between Grinding & Polishing (Metallography)
What’s the difference between grinding and polishing? When preparing specimens for microscopic examination, understanding this distinction can make all the difference.
Whether you’re examining metals, ceramics, or other solid materials, grinding and polishing help you create a perfect surface for analysis. Let’s look at how each process works and how they fit together in specimen preparation.
Key Takeaways
- Order of Operations: Grinding is the aggressive first step to flatten the sample, while polishing is the final step to reveal the microstructure.
- Abrasive Mechanics: Grinding utilizes abrasives fixed to a paper or plate, whereas polishing utilizes loose abrasives suspended in a liquid or paste.
- Measurement Standards: Grinding abrasives are categorized by Grit size, while polishing abrasives are measured in microns (µm).
- Surface Goals: The goal of grinding is planarization and damage removal. The goal of polishing is a scratch-free surface for microscopic analysis.
- Equipment Versatility: Modern lab equipment often combines both capabilities, allowing technicians to swap discs and cloths on a single machine.
What is Metallographic Sample Preparation?
Metallographic sample preparation, also known as metallurgical sample preparation, is a systematic way of creating smooth, flat specimen surfaces. You start with coarse abrasives to remove material, then move to finer ones. This gradual progression refines the surface without altering its structure, ensuring a reliable and reproducible result every time.
Why is this important? When you’re analyzing a material’s structure, surface quality matters. Scratches or irregularities can distort your view, making accurate metallographic analysis difficult. Metallurgical sample preparation allows you to achieve a perfect finish, revealing the true structure of your specimen.
The Comparison Table
Although both processes aim to reduce surface roughness, they utilize fundamentally different abrasive mechanics and consumables. The table below provides a side-by-side comparison of grinding and polishing to highlight their specific roles in sample preparation.
| Feature | Grinding | Polishing |
|---|---|---|
| Primary Objective | Rapid material removal to planarize the sample and remove cutting damage. | Removing the deformation layer left by grinding to produce a scratch-free, mirror-like surface. |
| Abrasive Type | Fixed Abrasives: The abrasive particles are bonded to the paper or wheel (e.g., Silicon Carbide paper, diamond grinding discs). | Free/Rolling Abrasives: Abrasives are suspended in a lubricant or paste and roll between the cloth and the sample (e.g., Diamond suspension, Alumina). |
| Particle Size | Measured in Grit. Ranges from coarse (60 Grit) to fine (1200 Grit). | Measured in Microns (µm). Ranges from 9µm down to 0.05µm. |
| Mechanism | The abrasive acts like a cutting tool, creating chips and significant surface deformation. | The abrasive rolls to shave off minor asperities, minimizing subsurface deformation. |
| Surface Result | A flat surface with uniform scratches running in the direction of rotation. | A highly reflective surface suitable for microscopic examination and hardness testing. |
Grinding: The First Step in Metallographic Sample Preparation
Grinding is where it all begins. This step removes rough material from the specimen’s surface, leveling it for further refinement. Grinding tools, such as abrasive wheels or discs, vary in coarseness to suit different materials and hardness levels. For harder materials, you’ll likely start with a more aggressive abrasive, while softer materials may need a gentler approach.
This process prepares the surface for polishing by creating a flat, uniform base. Without a good grind, polishing won’t achieve the smooth, scratch-free finish needed for microscopic examination. Think of grinding as setting the foundation for your specimen’s final quality.
Key Points for Grinding:
- Purpose: Removes roughness, levels the surface.
- Tools: Abrasive wheels or discs with various grits.
- Process: Start with coarse, move to finer abrasives.
Result: A flat, prepared surface ready for polishing.
Related article: Polisher Guide: Manual, Semi, or Auto?
Polishing: The Final Step for a Smooth Surface
Once grinding is done, polishing takes the stage. Polishing refines the specimen surface, using finer abrasives to smooth out any remaining scratches. The goal? A mirror-like finish that’s free of imperfections, allowing for detailed microscopic analysis.
Polishing tools are gentler than grinding tools, often using soft pads and specific compounds for different materials. For example, you might use diamond suspension or alumina slurry, depending on the hardness and ductility of your specimen. Each compound is chosen to bring out the best finish without damaging the surface.
Key Points for Polishing:
- Purpose: Creates a smooth, mirror-like finish.
- Tools: Polishing pads, cloths, and polishing compounds.
- Process: Uses progressively finer compounds for a perfect surface.
Result: A scratch-free surface ready for accurate examination.
Related article: Grinder Polisher Guide: Central vs Individual Force
What’s the Difference Between Grinding and Polishing in Metallurgical Sample Preparation?
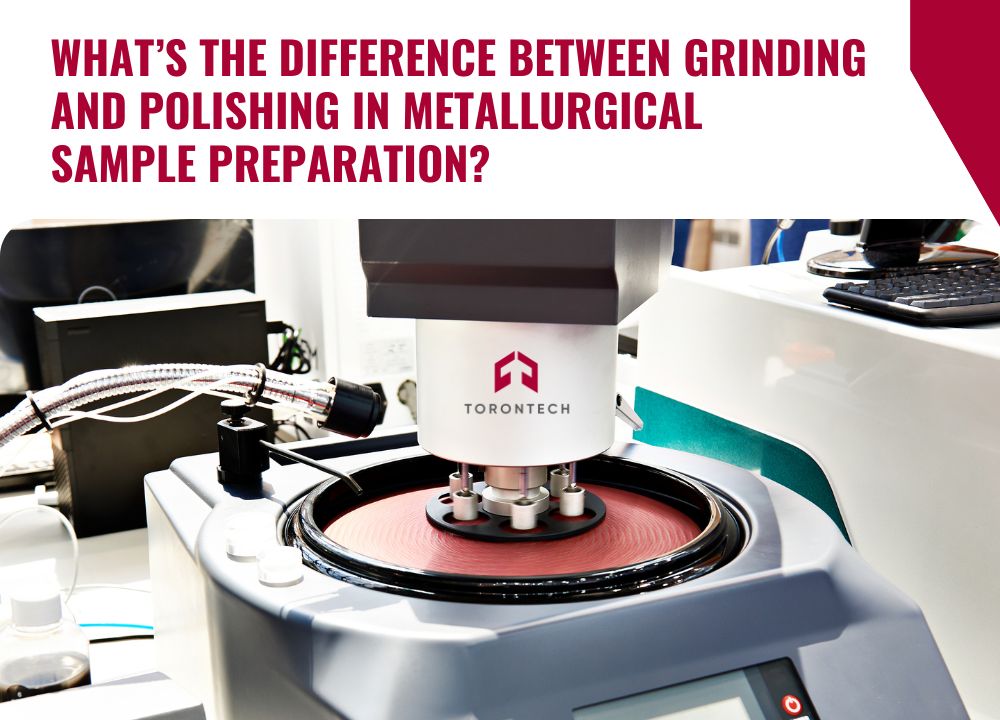
Grinding and polishing may seem similar, but they serve distinct purposes in specimen preparation:
- Material Removal vs. Surface Smoothing: Grinding focuses on removing material and leveling the surface, while polishing refines it to perfection. Grinding is the heavy-lifting step, while polishing adds the finishing touch.
- Abrasives and Tools: Grinding tools are more abrasive and aggressive, suited for material removal. Polishing tools are finer and more delicate, perfect for achieving a smooth finish without altering the structure.
- End Result: Grinding prepares the surface for further work, while polishing creates a final, scratch-free finish. Together, they reveal the true structure of the material, essential for clear and accurate microscopic examination.
Using both processes ensures that the specimen’s structure is displayed consistently. Different materials, based on their hardness and ductility, require specific consumables and steps for the best results. This systematic approach gives you confidence that every specimen will be prepared to the same high standard, ready for accurate and reliable analysis.
Achieve Flawless Finishes with Torontech
In the exacting field of metallographic sample analysis, executing both coarse planarization and fine surface finishing remains critical for securing reliable data. While the initial abrasion phase works to flatten the material and eliminate sectioning deformities, the subsequent refining process smooths away those microscopic scratches to produce a reflective, defect-free face suitable for high-magnification review.
Combining these distinct procedures ensures you can observe the genuine grain boundaries and inclusions with total precision.
If your laboratory requires consistent throughput and artifact-free samples, upgrading your machinery is often the most effective solution. Torontech offers industrial-grade workstations engineered to handle everything from rough material removal to that final, mirror-finish touch.
Ready to upgrade your lab workflow? Browse our full selection of Grinding & Polishing Machines to find the right fit for your specific material analysis needs.
References
- Anisovich, A. (2025). Artifacts in metallography: mechanical damage during sample preparation. Part 2. Artifacts introduced by grinding and polishing. Litiyo i Metallurgiya (FOUNDRY PRODUCTION AND METALLURGY).
- Pechoušek, J., Kuzmann, E., Vondrášek, R., Olina, A., Vrba, V., Kouřil, L., Ingr, T., Král, P., & Mashlan, M. (2022). Successive Grinding and Polishing Effect on the Retained Austenite in the Surface of 42CrMo4 Steel. Metals.
- Milošev, I., Sačer, D., Kapun, B., & Rodič, P. (2024). The Effect of Metallographic Preparation on the Surface Characteristics and Corrosion Behaviour of Ti-6Al-4V Alloy in Simulated Physiological Solutions. Journal of The Electrochemical Society.
- Holthuizen, P., & Çopuroğlu, O. (2023). Quantification of surface grinding during the sample preparation of cementitious materials by optical profilometry. Journal of Microscopy, 294, 128 - 136.
- (2009). Metallographic Sample Preparation Grinding and Polishing of Metals. **.
- Yan, L. (2010). Summarize of Metallographic Sample Preparation Process. Metal World.